June 2015 update Getting the ceiling done
Well I am a bit late in giving you the June update. It has been bitterly cold in Qld, with temperatures dipping to single figures in the morning and occasionally not even reaching 20C. Allan and I often comment how difficult it must be in places that are really cold. Having said that I am not sure how much fun it is anymore working in over 40C either. At least the resin goes off in a reasonable time. But the weather has put a dampener on the night time activities. It’s not so much the cold, but the wind has been a bit of a rattler up your skirt sort of thing. So not pleasant, but then we are spoilt I suppose.
Well we have been progressing with the inside of the boat. We almost finished all the windows, but still have a couple of things to do, but moved to the inside to tackle the job of the ceiling. Well we want to line it with vinyl and we got a well known guy to provide a quote for it. Well not to put a too fine a point on it, we said thanks… However, having now had the experience of doing it, we would say, well thanks…. It is certainly not easy, but it is not worth the cost of sending somebody through uni either. So we assume he had plenty of work to do and is now prospering greatly with his price.
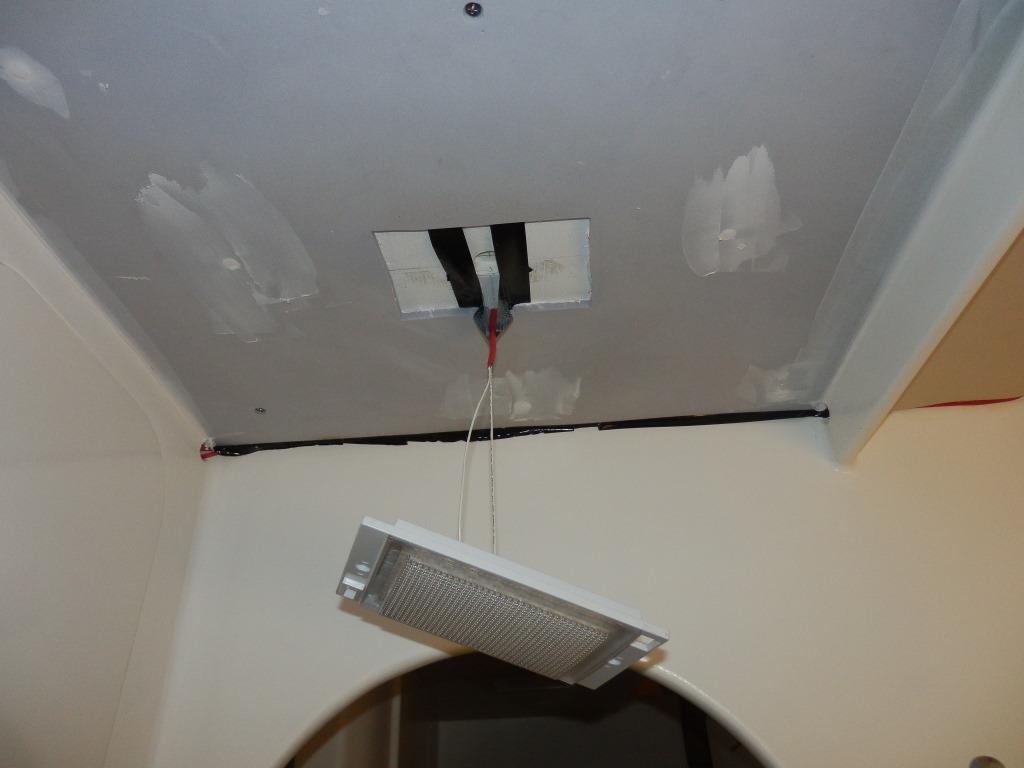
Anyway, I am sure you want details. The main issue is that despite what you might think, the lining hides very little. Indeed if it was not for the insulating properties, it would be far cheaper and just as easy to fair it. It may not look as nice, but then that is debatable too. Notwithstanding this was the process we followed. First we did a rough fairing to get rid of the real obvious tape bumps. Then we painted it with our water based paints and then the fun started. On some areas, we used 6mm EPA foam (black) to first cover the area of concern. This helped fair out the area a bit more but also provided space so as to run our wires through for all the lights. Now this worked ok, but we also had some high denisty foam (the purple stuff you see in the saloon) and where we could we lined the ceiling first with this, especially in the areas which were flat. This is essentially the same as using ply, as more traditional approaches use, but it is a lot lighter and more expensive too! But easier to work with. We originally used contact to glue this to the ceiling, but also screwed it as well. Not your normal contact, but high temperature contact, which you can buy in bulk from the hardware. By the way, you will need to buy it in bulk too. Well contact is a wonderful glue. When life gets too much you can start glue sniffing on the side, if you don’t die from something else in the mean time. But it also has the property that you need to coat both the foam and the ceiling in this stuff, so both of you can get on a high, especially the person in the boat, then you wait a bit, which is highly dependent upon lots of factors, mostly determined by your mood, and the ability to find any tools, but wait you do till it is touch dry. Then you bravely take the foam into the boat, making sure not to attach yourself to any other part of the boat as you do so, then you gently position the foam in the correct place and allow the two glues to make contact. If it is in the right place (and by the way it never is) you have a good old bang with your fist (all above your head just to add to the fun) and Bobs your uncle (and in some cases now your aunty, or is that boobs for your uncle (or aunty)) getting sidetracked…) it looks great. Well when it is not in the right place, various discussions unrelated to boat building follow. But this is just the underliner. You then have to face the same issue with the real thing which covers this and makes it look great. The real thing is again a 6mm EPA foam cut very precisely (and I mean very precisely) to fit where it should. But this time you cover it with vinyl first. The vinyl is glued onto the foam with this marvelous contact stuff, but this time it is good stuff to work with. We rollered it onto the vinyl and the foam with a standard foam paint roller, after giving them a bit of a wipe with metho (methylated spirits for those of you who can’t shortened every noun in English) (good alcohol smell, to aid the glue sniffing, as well) , Then after you watch it dry you gently align it and place the foam on the vinyl, bang away again, flip it over and give it a bit of a roll (with a paint roller), let your husband give it a hard roll and then cut the corners off of the overlap, wet them up with the contact stuff again, and then slip your finger along the edges and roll the corner over for a perfect jobs. No biggy! If you 10 or 20 of these you’ll start to feel like a pro.
Well now we have provided you with the great context of the sport of contact, let me tell you what we did to make it actually work. Well, where we could, we avoided contact like the plague. We still liked using it for gluing the vinyl onto the EPA foam, as it was pretty easy and very rarely gave us any problems. But gluing anything to the ceiling with it is just stupid. We ended up using the silicon glues we used to attach the hardware to the deck. It was white and spreadable, but also thick, so we could sort of use it like a fairing material. There was a better glue which was black, but really hard to spread. Anyway we spread it evenly over the panel as well as the ceiling where the panel was to go (and it is important to spread it on both surfaces as it wont stick very well if you don’t). We did the same for the high density foam when we applied it to the ceiling as well, but also screwed it in as the ceiling was a bit wonky and the glue would have to had been pretty thick to take it all up. Then, rather smartly we bought the panel and its final resting place together (after covering the rest of the boat in glue in transit). Then, you could place it in approximately the right area and slip it into position. You had a couple of minutes to do so, but was always successful (provided care had been implemented in cutting the panel in the first place). Then as everything is covered in glue, because that’s the nature of the job, we used metho to clean it all up and then give it a jolly good roll (with our hard paint roller). Sometimes there was a very small gap with the wall, so we filled that in with the same glue, and it looked pretty good. A couple of places the gap was more than a little one, so we covered that with a cover strip. Indeed in the saloon, we ended up covering some of the joins as even a small gap was noticeable if you focus on it. I’ll put up some pictures soon.
The drawback with this all is that you don’t have a natural reason to get on a high, and it is about twice the cost in the glue without the privilege of getting high, both of which are significant. However, you never rip a panel down because of the positioning errors and you can work with large panels, which saves you time and looks better. The port side of the boat is not as good as the starboard because we used the contact there.
One of the other things we were told was to chamfer the edges of the foam before we put the vinyl on. Well I am sure it works for some people, and indeed we did this on many of the panels to start with, but in the end we got a better result by doing nothing with the edges. Just wrap the vinyl around it and make sure it glues well.
The whole exercise cost us about $4000 in materials and about 2 hrs a panel. There are 50 panels… Hard to believe, well try it!
We have one more panel to put up then we want to put a couple of edge strips on then this job is finished. We will then work on the bench tops. Then floor, final paint job and maybe the rudders will arrive and we can finish them. Then just maybe we will be close to finished (which translates to doing a lot of work finishing the things off we did not finish or have forgotten about).
Also for those interested our timeline is provided below.


EPA foam on curved surface and high density foam on flats in bedroom

saloon from port side (no trim)

Saloon looking forward (no trim)

final product in foreground, underlay of high density foam in background
high density foam underlay with light fitting in place

not finished but close

Recent Comments